
So many people are celebrating their adventures by immortalising them on maps. Many more have asked us ‘how’ do they add a trail to their SplashMap to make the ultimate planning tool of memento for their favourite adventure. This guide will help anyone make a unique fabric map keep-sake map for any adventure, world-wide.
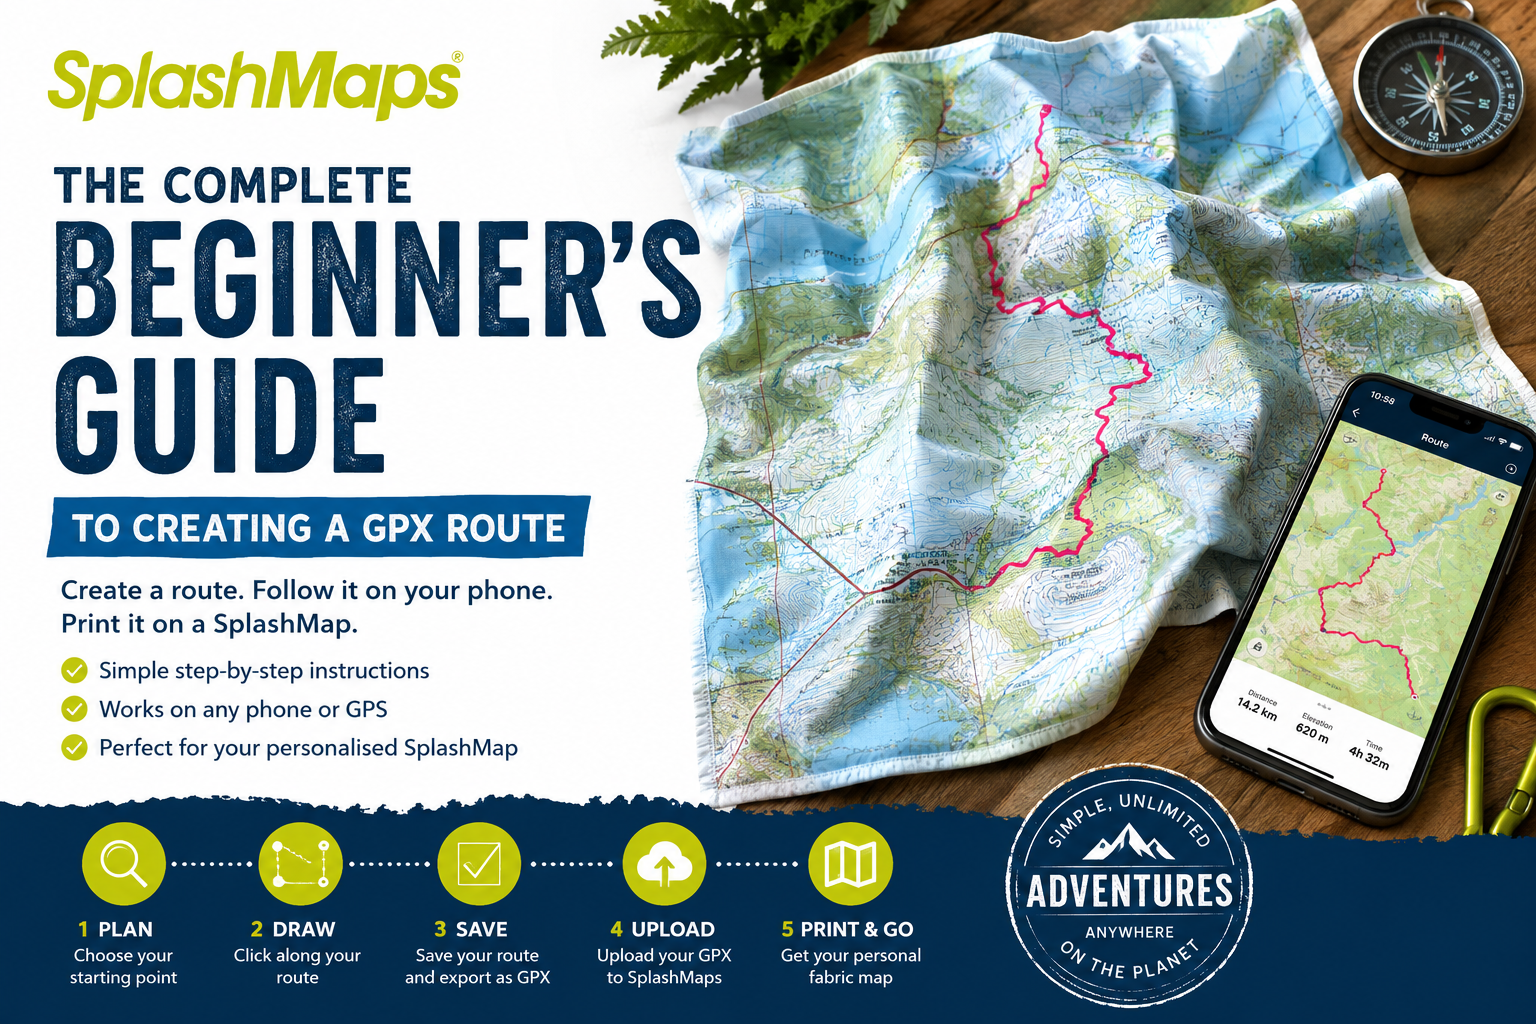
Think of a GPX file as a digital trail of breadcrumbs.
It tells mapping software exactly where your route goes. You can:
The best part is that you don’t need any specialist knowledge.
You’ll need:
Good free planners include:
Choose whichever you find easiest. The process is very similar on all of them.
Sign up to your chosen route planner.
Most allow you to save your routes and download GPX files free (some advanced features may require payment).
Use the search box.
Type in:
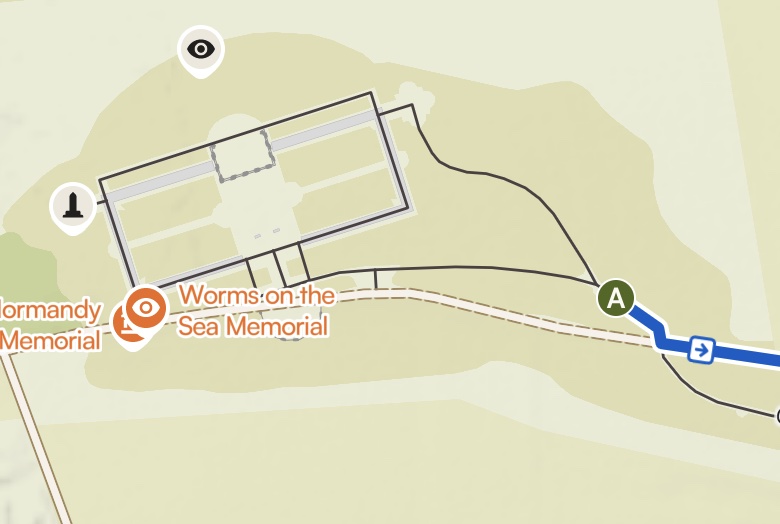
Zoom in until you can clearly see roads and footpaths.
Select:
Your Activity (choosing mountain biking, walking, gravel biking will help the service snap to routes suited to your means of travel)
then,
Create Route
or
Plan Route
Click once where you want to start.
Now simply click along the roads or paths you want to follow.
Each click creates another section of your route.
This is the biggest mistake beginners make.
❌ Bad
Clicking a handful of places.
The planner may choose a completely different road/trail than you intended.
✔ Good
Click many times.
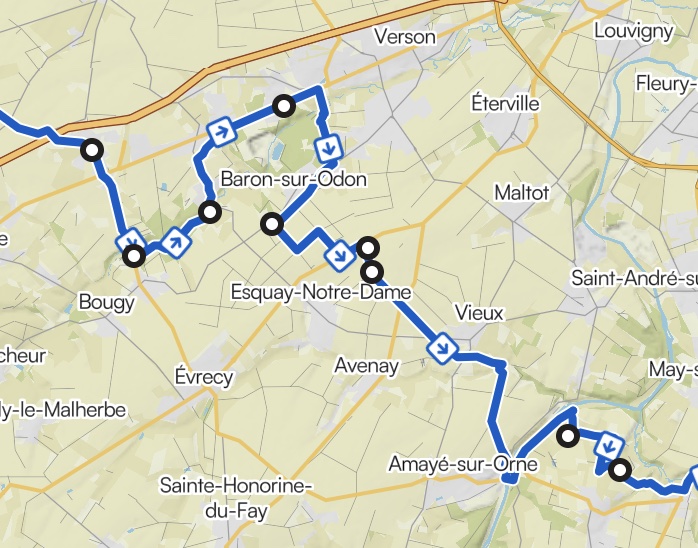
Click at:
This keeps your route accurate.
Zoom in.
Make sure your route:
✔ stays on the correct paths
✔ doesn’t cut across fields – these systems are not perfect
✔ Crosses rivers and busy roads in sensible locations
If something looks wrong:
Either nudge the route closer to what appears to be more sensible trail/road
or
Delete the last point and try again.
Keep clicking until you reach your destination.
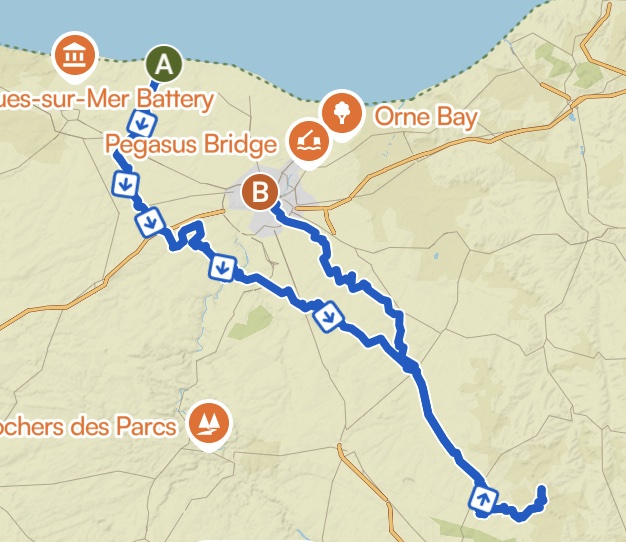
If it’s a circular walk, click back to your starting point.
Give it a useful name.
Examples:
Look for:
Export
Download
GPX
Save the file somewhere you’ll remember.
For example, using Komoot
Hit ‘Save’, this will;
On this page, find the ‘Download GPX’ option and click.
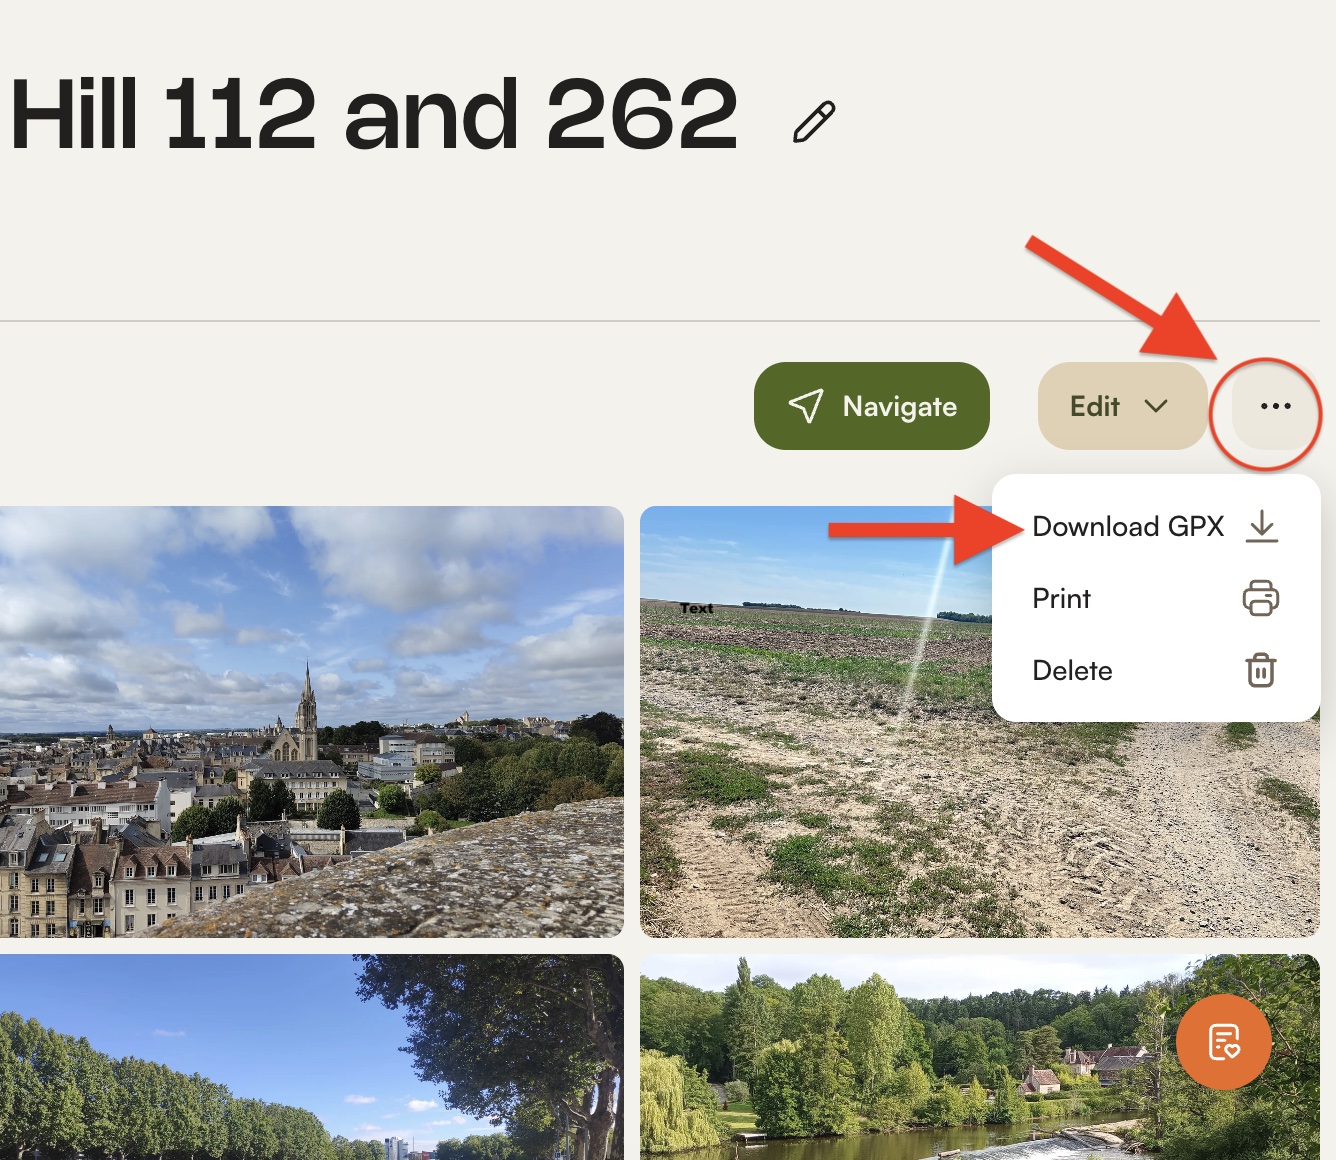
Save your map onto your computer.
Before ordering your map, it’s worth checking the GPX works.
Upload it into
You should see your complete route.
If it looks right there, it’ll usually work perfectly everywhere else.
Visit the SplashMaps map creator.
Create a personalised map that covers the area of your trail HERE.
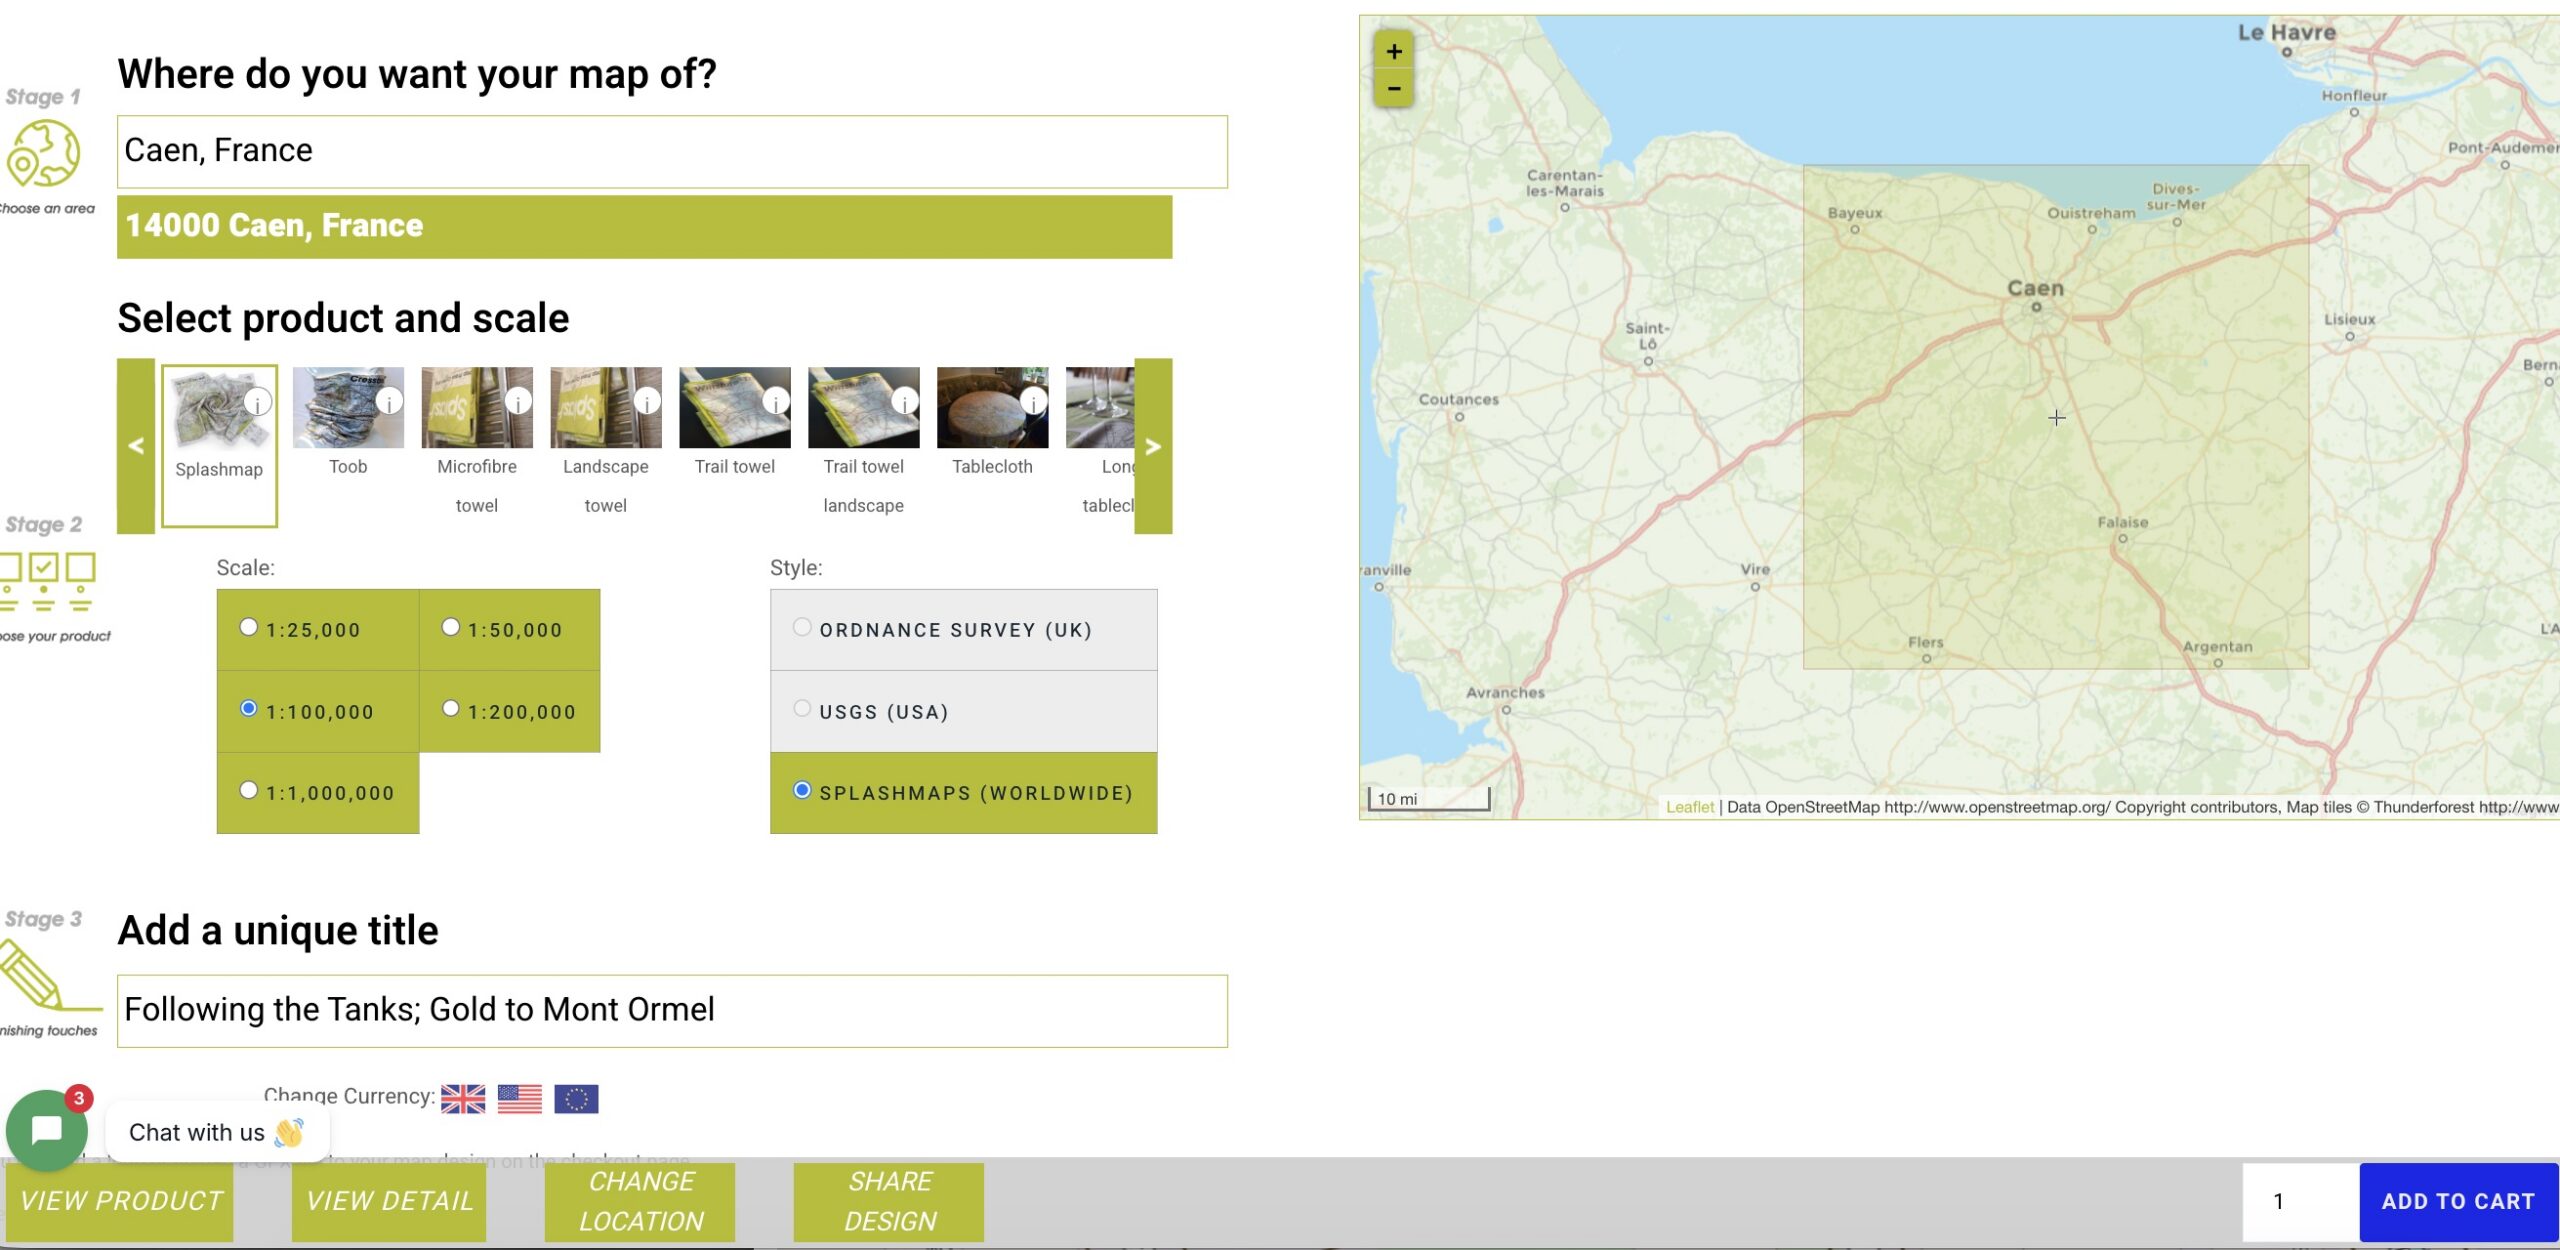
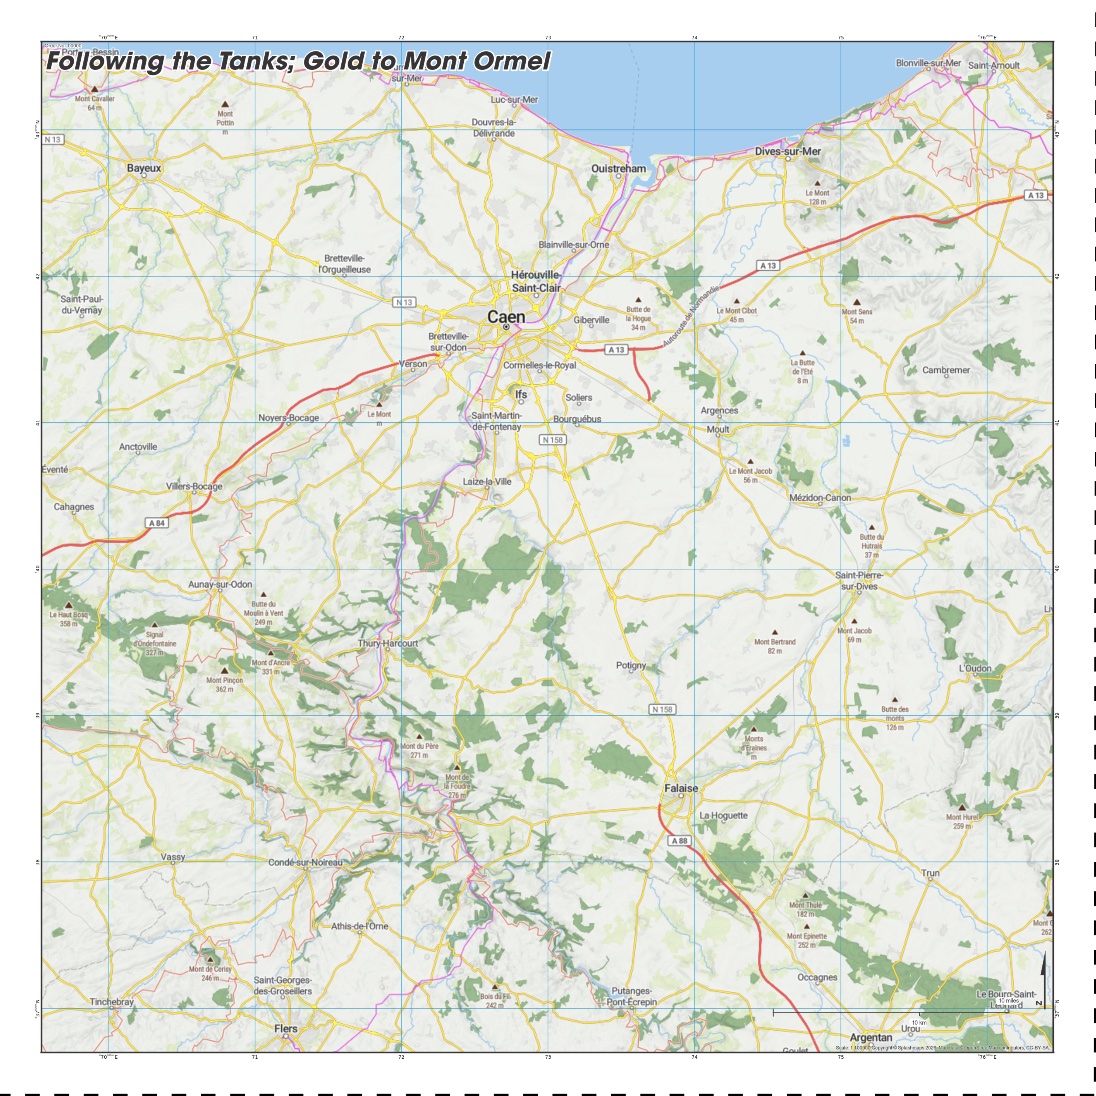
Add to Cart, then complete your delivery details.
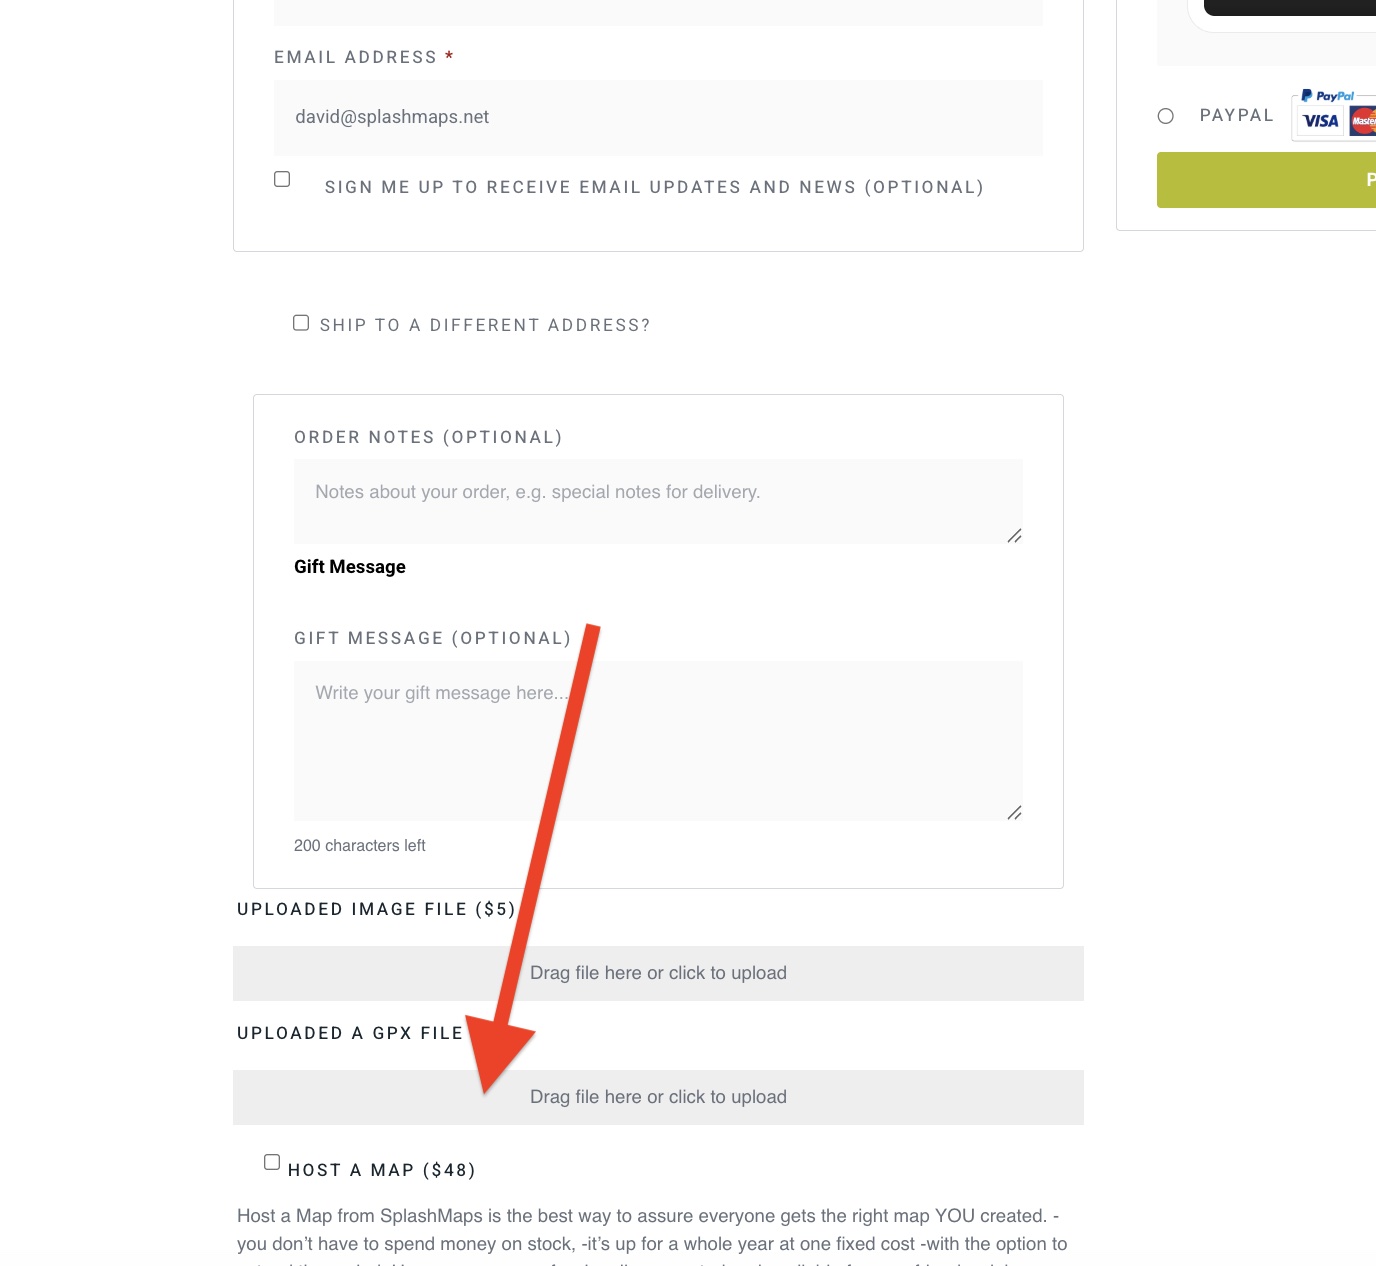
Upload your GPX file.
The route will be added to your map once you complete the order.
Don’t zoom in too much.
A printed map is often more useful when it shows:
rather than just the route itself.
Avoid having your route touching the edge of the map.
Leave some space around the outside.
This gives context and makes navigation easier.
If your GPX suddenly jumps across the countryside in a perfectly straight line, something has gone wrong.
Delete that section and redraw it.
Good:
West Highland Way 2026
Bad:
New Route 14
Store your GPX file somewhere safe.
Cloud storage is ideal.
Yes.
Simply reopen it in your route planner and make changes.
Yes, provided you have permission and it accurately represents the route you want.
Always check it before relying on it outdoors.
No.
It only contains route information.
Your phone or SplashMaps adds the mapping separately.
Different mapping services sometimes use slightly different road and path data.
The GPX itself is usually fine.
☐ Route starts in the correct place
☐ Route finishes in the correct place
☐ No unexpected straight lines
☐ Route follows the correct roads and paths
☐ Whole journey fits comfortably on the map
☐ GPX has been tested in another app
☐ File saved safely as a .gpx file
Congratulations! You’re now ready to upload your GPX to SplashMaps and create your own personalised printed map.


